Christmas Jumper Day: Light up your Christmas jumper!
It’s that time of year again! Christmas Jumper Day is nearly upon us and my jumper needs some pizzazz before the big day. Luckily I still have my jumper from last year – and it still fits. To keep up the cost-conscious them of 2012’s jumper, I’ve decided to add a bit of Christmas sparkle through the joyous use of fairy lights.
I found lots of different styles and colours at my local pound shop. All the sets on offer seemed to required 2 AA batteries, which I had stashed in a cupboard. After much debate, I settled on a strand of red star lights. My husband went with the flashier, multicoloured strand.
To get started, you will need:
– A Christmas jumper
– Strand of battery-powered fairy lights
– Batteries
– Scissors
– Needle and thread
– Straight pins
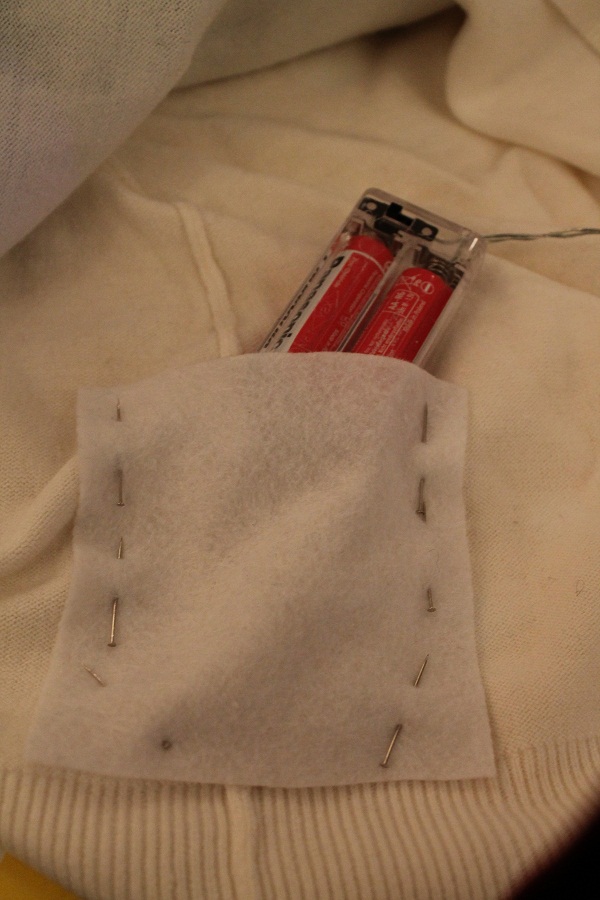
– One square of felt or similar fabric (dimensions should be 2cm wider than the battery pack for your lights).
I managed to find everything I needed squirrelled away so the total cost for two upgraded jumpers was just £2!
Figure out how you want to lay out your lights in relation to your Christmas jumper design. My jumper has a diamond-shaped design in the middle so I opted to put the lights around the diamond.

Cut out a square of felt or fabric that measures 2cm wider than the battery pack for your lights. You’ll want to position this in the least unobtrusive area of your jumper. We opted to put ours along the side seam, close to the waist. Once you’ve positioned the fabric, pin in place and sew it to your jumper. Don’t forget to leave enough of an opening at the top to put the battery pack inside it.

Now you need to thread your lights through from the inside of the jumper to the outside. Our jumpers have patches on the front so we cut small holes under the patch (and then darned around them to avoid a larger hole developing) and fed the lights through. Depending on the design of your jumper, you could do something similar on the collar, cuffs or other seams.

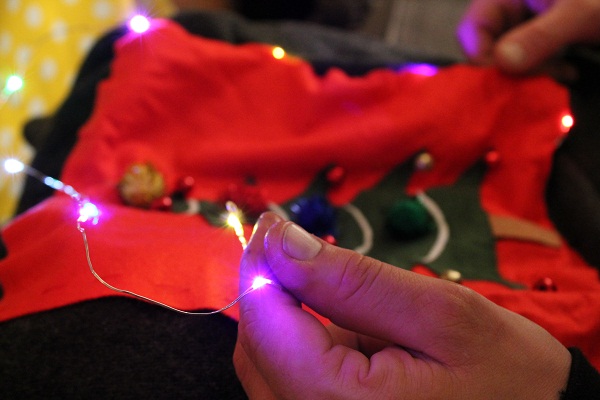
This was the trickiest stage of the process. I wove the lights around the design on my jumper, sliding them over and under the stitches already in place. If you don’t have something existing to latch onto, you could always stitch the lights on at intervals to attach them to the jumper. I found that in places, I needed to reinforce the ‘weaving’ with a bit of basic sewing to offer structural support.
Once you’re happy with the position of your lights, put the battery pack in its pouch and sew the top up, leaving enough room to get your finger inside to flick the switch.


Wear your jumper with pride tomorrow and make the world better with a sweater!
Happy Christmas Jumper Day!
Related links
Christmas Jumper Day homepage
Christmas Jumper Day FAQs
Change the Future
Donations FAQs
How you helped

Share this article